spoa10 installation manual

Welcome to the SPOA10 Installation Manual‚ your comprehensive guide for safely and efficiently installing the Rotary SPOA10 lift. This manual provides detailed instructions‚ safety guidelines‚ and technical specifications to ensure proper setup and operation. Designed for installers and technicians‚ it covers key features‚ compatibility‚ and troubleshooting tips for optimal performance. Follow the steps carefully to guarantee a successful installation and compliance with industry standards.
Overview of the SPOA10 Model and Its Importance
The SPOA10 is a high-performance‚ two-post asymmetric lift designed to service a wide range of vehicles‚ including cars‚ trucks‚ and SUVs. With a 10‚000-pound capacity‚ it is a versatile and durable solution for professional automotive shops. Its asymmetric design allows for greater accessibility and ease of use‚ making it a preferred choice for technicians. The SPOA10 model is significant for its reliability‚ safety features‚ and adaptability to various workshop environments. This lift is supported by comprehensive installation and operation manuals‚ ensuring proper setup and maintenance. Its importance lies in its ability to enhance efficiency and safety in vehicle servicing and repair operations.
Key Features and Benefits of the SPOA10 Lift
The SPOA10 lift boasts a 10‚000-pound capacity‚ asymmetric arms for enhanced vehicle access‚ and a durable powder-coated finish. Its two-post design ensures stability‚ while the push-button control box offers easy operation. Safety features include automatic safety locks and a smooth‚ quiet lifting mechanism. The lift is compatible with a wide range of vehicles‚ making it ideal for diverse workshop needs. Additional benefits include low maintenance requirements and a comprehensive manual for installation and operation. These features combine to provide a reliable‚ efficient‚ and safe lifting solution for professional technicians and automotive enthusiasts.

System Requirements and Preparation
Ensure a sturdy concrete floor with a minimum 4‚000 PSI rating. Gather tools like torque wrenches and ensure proper alignment of lift columns. Verify compatibility and space requirements.
Technical Specifications and Compatibility
The SPOA10 lift is designed for heavy-duty applications‚ with a maximum capacity of 10‚000 lbs. It is compatible with 500‚ 700‚ and 800 Series models‚ ensuring versatility. The lift features hybrid arms and asymmetric design‚ suitable for various vehicle types. Ensure the installation site meets the required floor thickness and strength specifications. The SPOA10 is compatible with both 208V and 230V power supplies‚ depending on the motor configuration. Verify compatibility with existing equipment and space requirements before proceeding. Always refer to the manual for specific part numbers and updates‚ such as the SPOA10 5BX series arms‚ to ensure accurate installation.
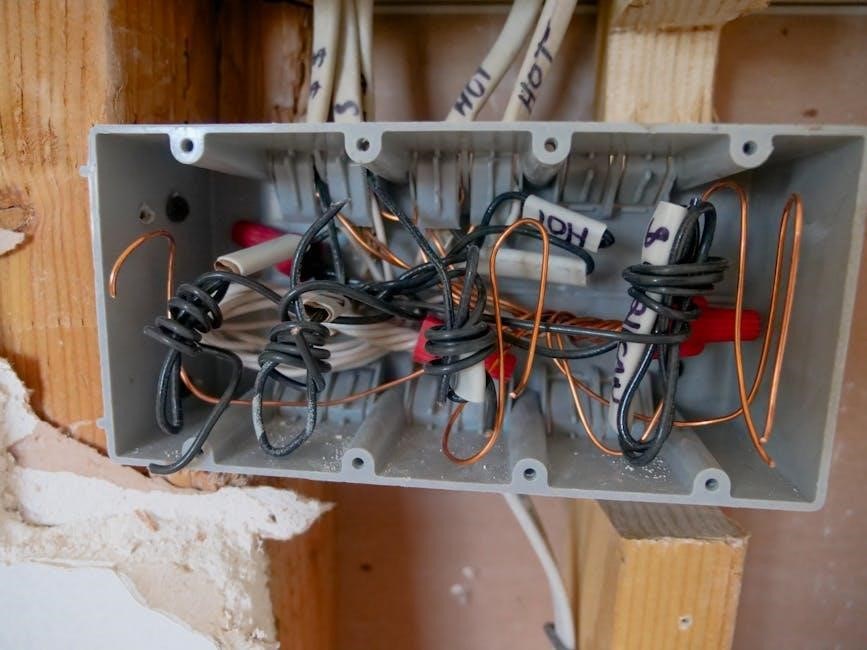
Site Preparation and Safety Considerations
Proper site preparation is crucial for safe SPOA10 installation. Ensure the floor is level‚ non-poor‚ and can support the lift’s weight. Check for adequate space to accommodate the lift’s dimensions and operation. Verify electrical connections meet the lift’s voltage and power requirements. Ensure the area is clear of obstructions and tripping hazards. Conduct a thorough risk assessment and ensure all personnel follow safety protocols. Refer to the ALI/SM01-1 safety manual and ANSI/ALI ALOIM standards for compliance. Proper preparation minimizes risks and ensures a secure working environment for the installation team.

Safety Guidelines and Precautions
Always follow ALI/SM01-1 safety standards and the ANSI/ALI ALOIM-2008 guidelines during installation. Ensure proper training and adherence to manufacturer instructions for safe operation and maintenance.
General Safety Practices for Lift Installation

Adhere to ALI/SM01-1 safety standards and ANSI/ALI ALOIM-2008 guidelines during installation. Ensure all operators are trained and qualified‚ following the manufacturer’s instructions. Always refer to the ALI “Lifting it Right” safety manual and the ALI Safety Tips card for guidance. Properly locate the lift using an architect’s plan‚ and ensure the lift height matches the requirements. Verify all safety devices are functioning correctly before operation. Keep the installation area clear of obstacles and ensure proper grounding. Always follow the recommended safety practices outlined in the manual to prevent accidents and ensure compliance with industry regulations.
Specific Safety Warnings for the SPOA10 Model
Ensure all SPOA10 components are properly inspected before installation. Always manually tighten nuts with a torque wrench to the specified 110 ft.-lbs. (149 Nm). Avoid over-tightening to prevent damage. Verify column greasing is applied as instructed‚ especially for powder-coated models. Follow anchor installation guidelines precisely to avoid structural instability. Never operate the lift without ensuring all safety devices are functional. Properly align and secure the lift arms to prevent misalignment issues. Always refer to the manufacturer’s instructions for specific torque specifications and safety checks to ensure safe and reliable operation of the SPOA10 model.
Step-by-Step Installation Process
Begin with anchor bolt installation‚ ensuring proper alignment. Secure columns firmly‚ then attach lift arms according to manufacturer specifications. Apply grease to columns as directed for smooth operation.
Preparing the Components and Tools
Before starting‚ gather all necessary tools and components‚ including torque wrenches‚ socket sets‚ and anchor bolts. Ensure columns‚ lift arms‚ and hardware are undamaged and compatible. Refer to the parts breakdown in the manual for clarity. Apply grease to columns as specified to ensure smooth operation. Organize tools and components in a logical workspace to streamline the process. Double-check that all items are included and ready for assembly. Proper preparation is crucial for a safe and efficient installation. Always follow the manufacturer’s instructions for handling and preparing lift components.
Assembling and Aligning the Lift Columns
Begin by anchoring the lift columns to the floor using the provided anchor bolts‚ ensuring they are securely fastened. Align the columns according to the manufacturer’s specifications‚ verifying plumb and level accuracy. Use a torque wrench to tighten bolts to the recommended specification. Attach the lift arms to the columns‚ ensuring proper alignment and secure fastening. Double-check all connections for stability and alignment. Refer to the alignment guide in the manual for precise measurements. Proper assembly and alignment are critical for safe and efficient lift operation. Follow the instructions carefully to avoid misalignment issues.

Post-Installation Checks and Testing
After installation‚ conduct a final inspection to ensure all components are securely fastened and properly aligned. Perform safety verification and load testing to confirm optimal functionality and stability.
Final Inspection and Safety Verification
After completing the installation‚ perform a thorough final inspection to ensure all components are correctly assembled and aligned. Check that all bolts‚ lock nuts‚ and safety latches are securely tightened. Verify that the lift operates smoothly‚ with no unusual noises or movements. Conduct a safety verification by testing the lift’s emergency stop‚ safety locks‚ and load-holding mechanisms. Ensure compliance with ANSI/ALI standards and manufacturer guidelines. Review the operation and maintenance manual to confirm all safety features are functional. This step is critical to guarantee the lift’s safe and reliable performance for years to come.

Load Testing and Initial Operation
After completing the installation‚ perform a load test to ensure the lift operates safely and efficiently under maximum weight conditions. Start by cycling the lift several times without a load to check for smooth operation. Gradually add weight‚ ensuring the lift rises and lowers evenly. Test all safety features‚ including emergency stops and locking mechanisms. Refer to the manufacturer’s guidelines for the recommended test load. Once testing is complete‚ conduct an initial operation check to verify proper function and alignment. Document the results and address any issues before handing over the lift for regular use.

Maintenance and Troubleshooting
Regular maintenance includes lubricating moving parts‚ checking hydraulic systems‚ and inspecting wire ropes. Address common issues like uneven lifting with troubleshooting solutions and follow manufacturer guidelines for optimal performance and safety.
Routine Maintenance Tasks for Optimal Performance
Perform regular lubrication of moving parts to ensure smooth operation. Inspect hydraulic lines for leaks and check wire ropes for wear. Grease columns periodically‚ especially after installation‚ to maintain functionality. Test safety locks and ensure all bolts are tightened to specified torque values. Refer to the manufacturer’s guidelines for detailed schedules and procedures. Address any anomalies promptly to prevent downtime and extend the lift’s lifespan. Always follow safety protocols during maintenance to avoid accidents and ensure compliance with industry standards.

Common Issues and Solutions
Uneven lifting may occur due to improper column alignment. To resolve‚ realign the columns and ensure they are level. Hydraulic leaks can develop over time; inspect seals and replace them if damaged. Worn wire ropes should be replaced immediately to prevent operational failure. Safety latch malfunctions can be addressed by cleaning and lubricating the mechanism. For any electrical issues‚ check connections and consult the wiring diagram. Regular maintenance‚ as outlined in the manual‚ helps prevent these problems. Always refer to the troubleshooting section for specific solutions and follow safety guidelines to avoid further complications.